To Pea Or Not To Pea
June 22, 2026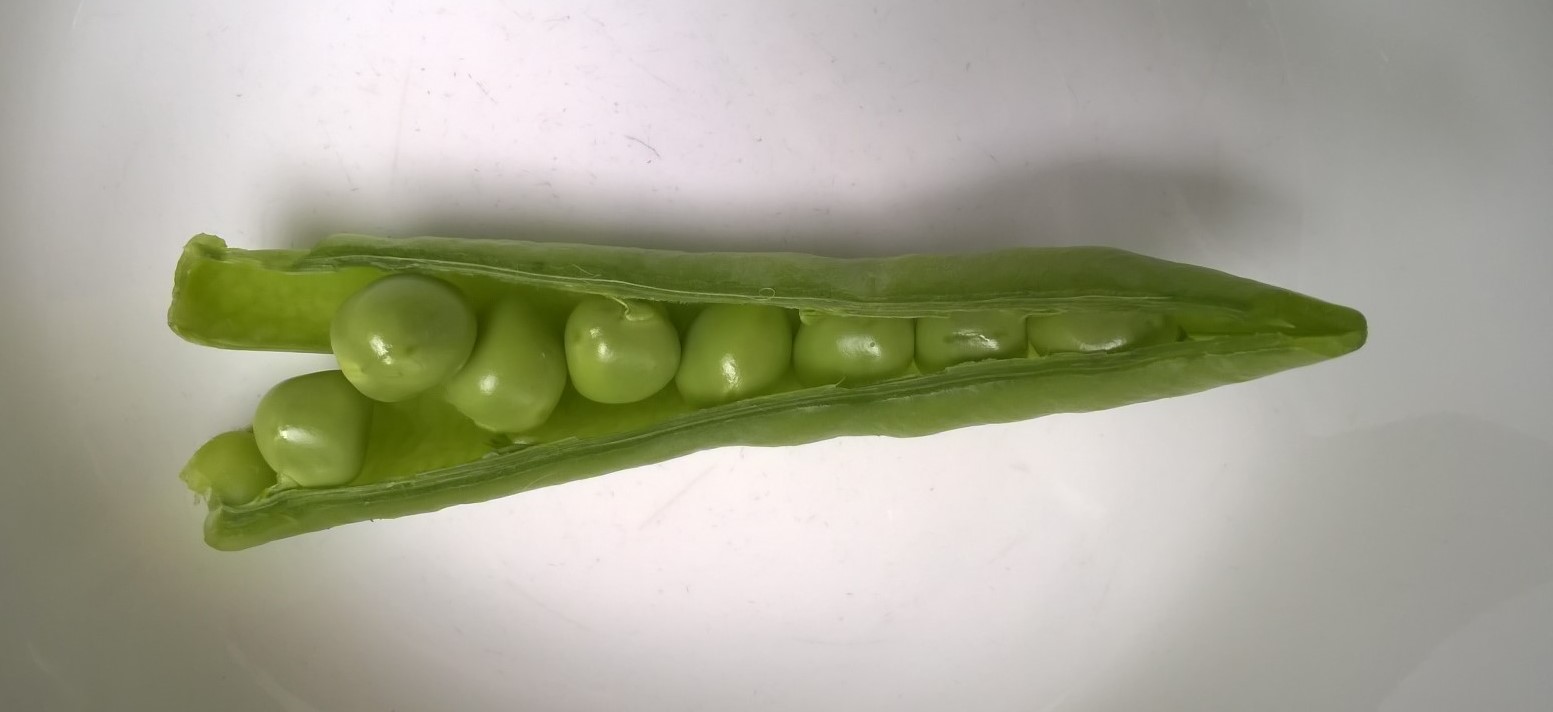
To pea or not or pea. That is the question … I ask myself every spring. Shelling peas, to be precise. In early March I ponder, should I torture myself again for a few handfuls of shelling peas? Spring rains can rot the seeds and turn them to mush. The squirrels dig up the planting mounds, hoping for a nut. Birds may pluck up the tiny starts after they pop up out of the ground. The necessary trellis is extra work. Fencing is needed because rabbits love peas. There are pea weevils who chew half-moon circles on the leaf margins.
for work parties
Please email to volunteer
freewayestatescommunityorchard@gmail
Shelling peas – a lot of effort for a small reward. But the reward. The reward. What tastes better than a fresh, snug column of shelling peas. I pick the pod, strip the string on both ends and slowly open up the pod. Careful. It’s easy to drop one! But just pick it up from the dirt and eat it. Yum. Sweet, bright, and crisp. Not starchy like store bought peas. So incredibly delicious.
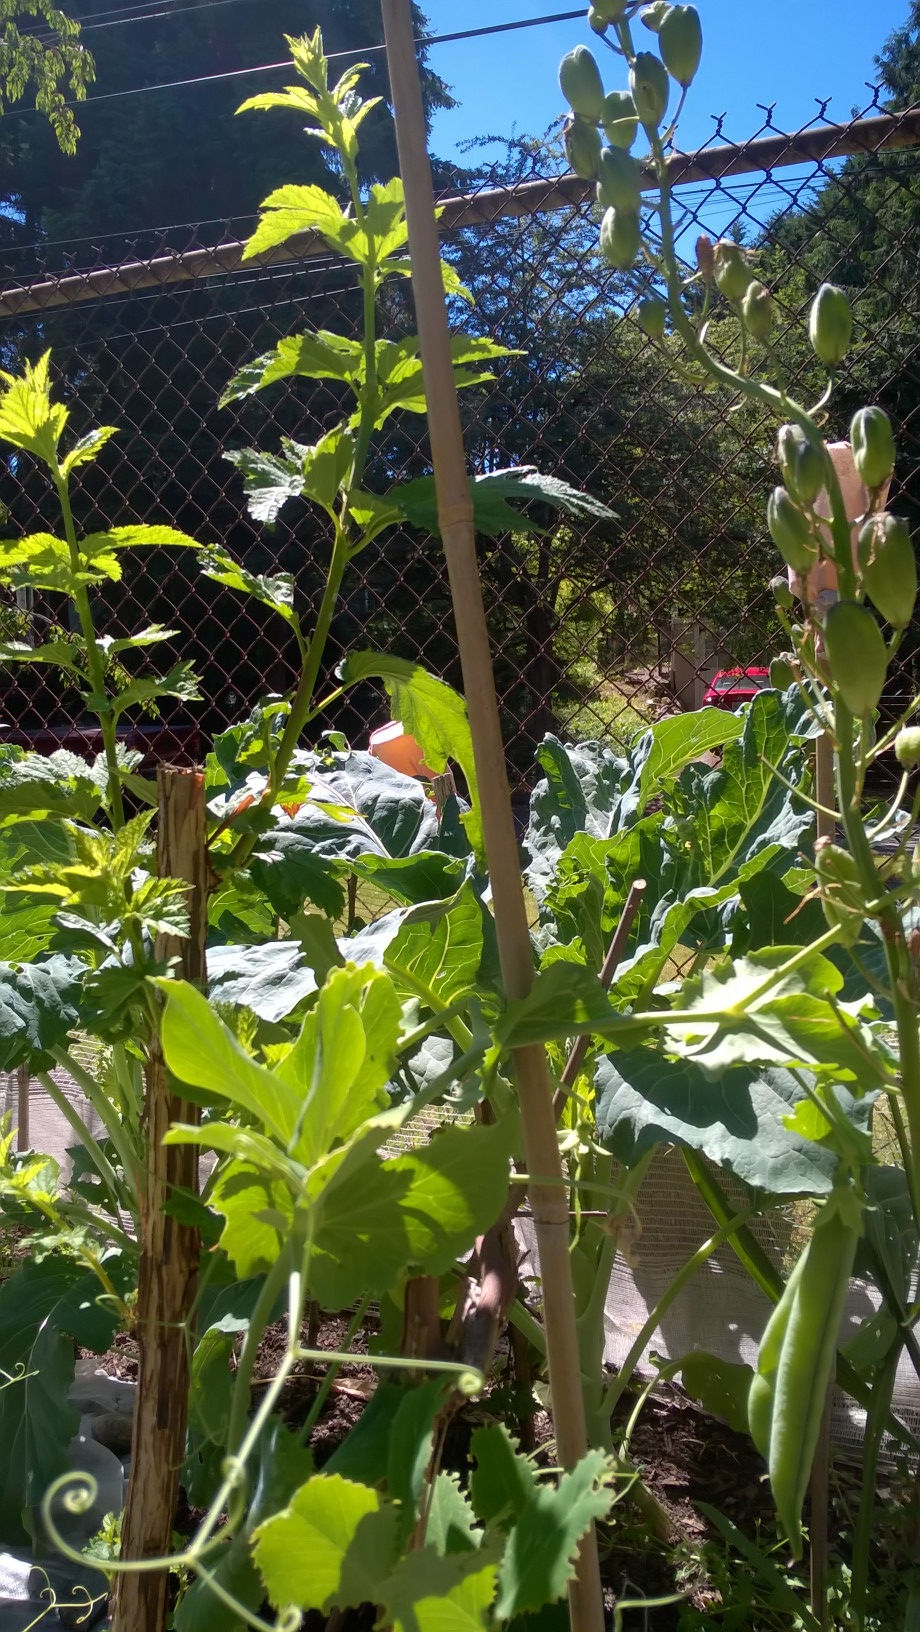
pea crawling up a Pacific Ninebark stake
At least this year there was a bonus. For trellising I simplified the process by pushing ‘live stakes’ from cuttings off of our native shrubs. Half of the stakes took so we have half a dozen new shrubs that we can pot up!
Shelling peas have been with me forever. When I was young, my grandmother frequented the Lansing farmer’s market and she would drop off peas at our house. Such a kind gramma.
Now we switch to a more practical and lucrative pea-growing experience. Sue grows edible pod peas – snow peas or sugar snap peas. The whole pod is eaten. Nothing wasted. A bit of effort but a sizable reward and the volunteers love them. I asked Sue for some pea planting practices:
1) Plant peas from mid-February through April. If you plant late, aphids will spring to life and can infect pea plants with the pea enation mosaic virus. Choose virus resistant varieties.
2) Jump start your peas (chitting – see note 1) indoors then plant them out or plant the germinated seeds in small pots. If you transferred the chitted peas to pots, make sure to have a spot outside with good sun and protection from critters.
3) Once the pea plants are 2-4″ tall, and are accustomed to the outdoor climate 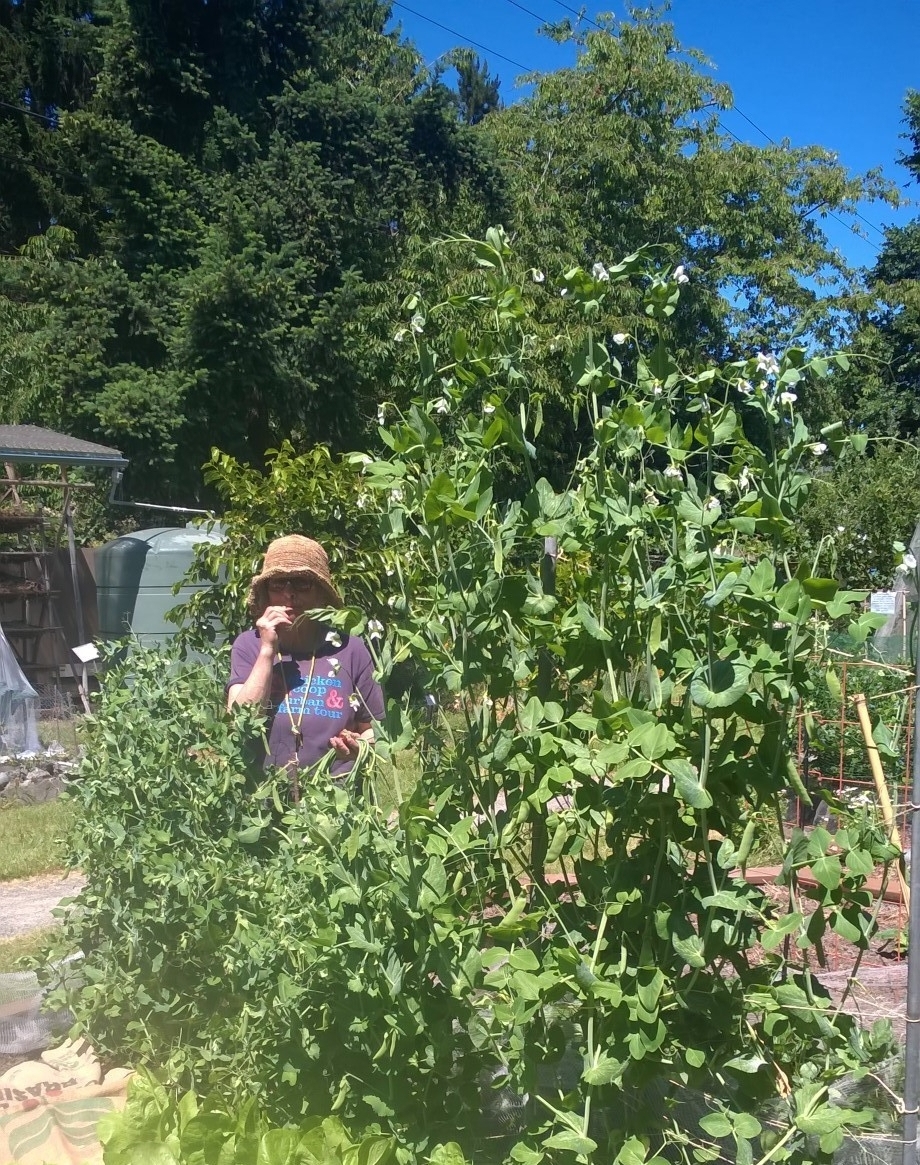 (hardened off), plant them about three inches apart in the soil. They love close neighbors.
4) Trellising is needed to keep the plants off the ground and away from slugs and also to improve air flow. Taller varieties may grow up to 6 feet tall!
Thank you Sue!
Let us know your pea practices or problems. In the meantime, pass the peas please.
Ruth
Resources:
Pea Leaf Weevil, OSU Blog – VegNet
No date (don’t you just love that?!) 2021 per Metadata
https://agsci-labs.oregonstate.edu/vegnet/pest-profiles/pea-leaf-weevil/
Note 1: Sue’s method of pea chitting:
You will need a clear glass jar(s), cheese cloth, rubber bands, lukewarm water and 4″ pots.
1. Count how many seeds you have. Plan on 3 seeds for every 4″ pot. (Not all seeds will sprout.) If you are planting more than one variety, you can chit them in separate jars.
2. Put the seeds in a clear glass jar. Mason jars work well. Cover the mouth of the jar with cheesecloth and secure it with a rubber band. Fill the jar with enough lukewarm water to cover the peas. Place the jar on its side.
3. Let the jar sit 6-8 hours. Drain. Rinse with lukewarm water. Drain well. Do not refill with water. The seeds will be moist enough to sprout but not rot. Place jar on it’s side in a warm area where you can keep an eye on it, like a kitchen counter top.
4. Drain-rinse-drain twice a day until roots begin to emerge. This should take 2-5 days. They may not all sprout at the same time and some varieties of peas will take longer than others.
Leave a Reply
Want to join the discussion?Feel free to contribute!